Review: Crashplan Cloud Backup for Photos
Review of the Crashplan Backup Solution:
I’ll admit that when I first heard of people paying fees each month to back their photos up to the cloud, I thought it all sounded a bit crazy. Part of this was because I thought that there would be some hidden catches and that it would be outrageously expensive. After using Crashplan for the last 10 months, however, I am a HUGE fan of it and I’ll tell you everything that you need to know below. And, spoiler alert, it’s way cheaper and easier than I thought it would be.
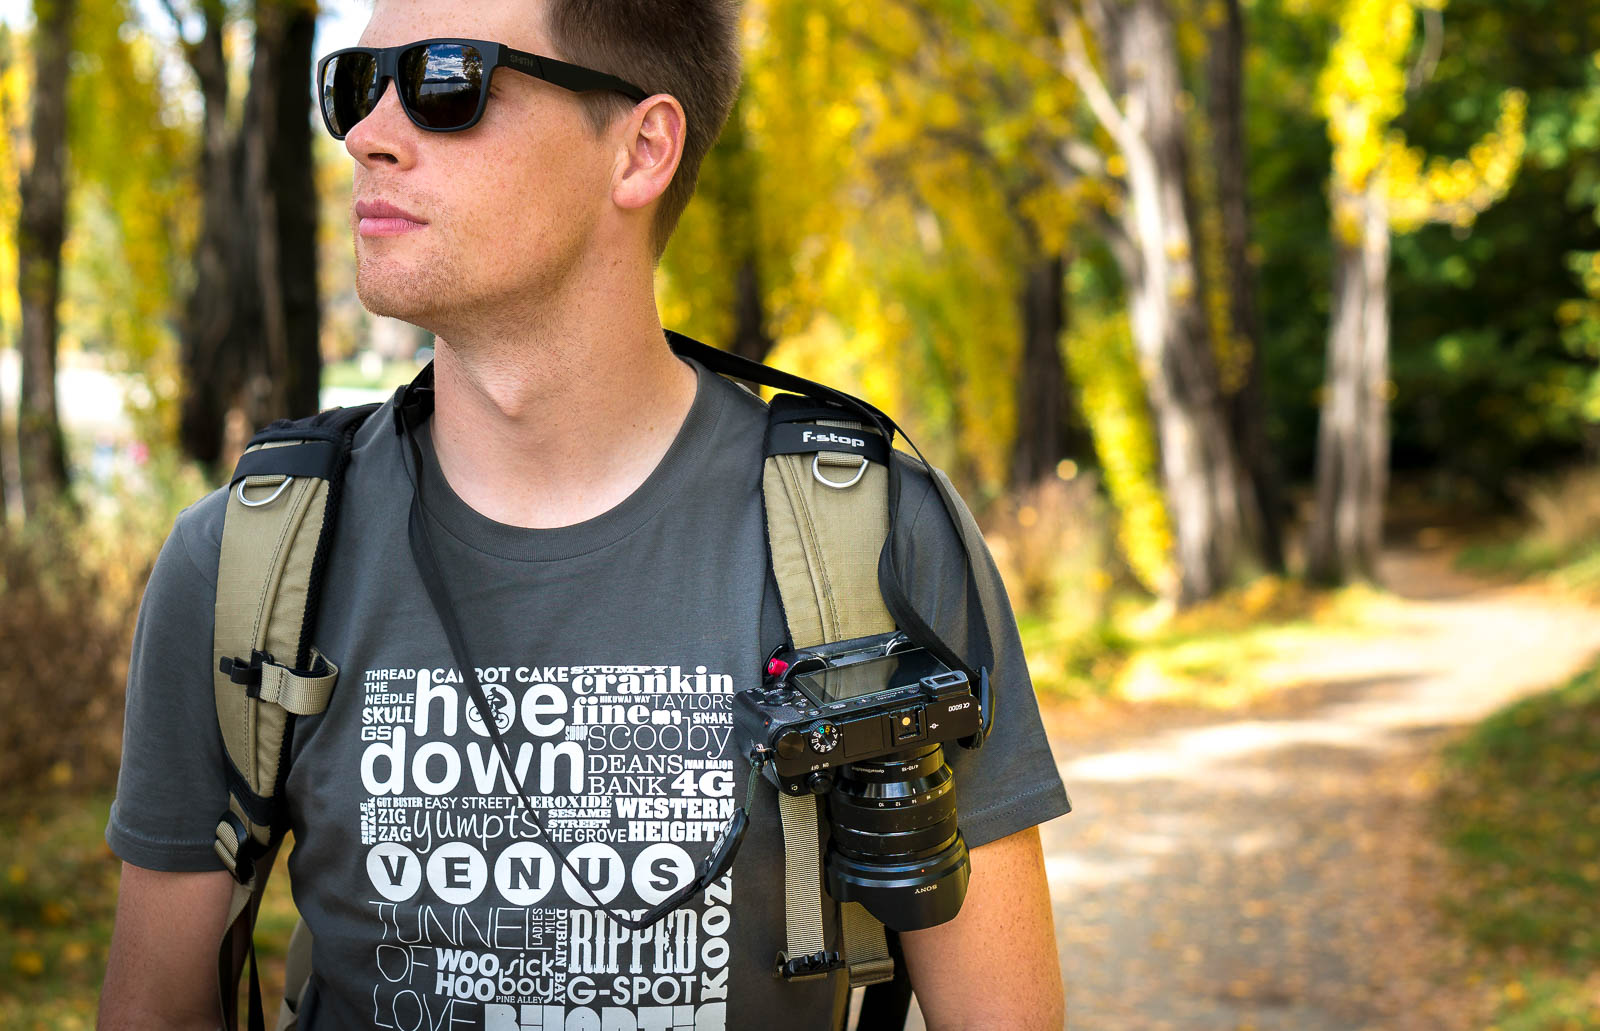
Before I go into the details of why I chose Crashplan and everything else that you need to know, I wanted to quickly tell you a bit about my backup strategy. First of all, having some sort of backup strategy is extremely important. When I first got into photography I was overwhelmed by all of the gear that I needed from the lenses to the camera to the backpack, to the tripod, filters, straps, and the list goes on…
Because of this, I cut some corners and for my first setup I bought a cheap Western Digital hard-drive to put all of my photos on. This worked awesome for quite a while, until I was in a hostel in Croatia and the hard-drive slipped off of the edge of my bed onto the floor. It wasn’t a very far fall, but the hard-drive stopped working and I was never able to recover those files again. They were my only copies so I lost a lot of the first photos that I ever took. Luckily for me, they were never very good photos anyways.
Since then, however, I’ve put a lot of thought into coming up with a strategy to make sure that all of my photos are safe without making things really expensive or cumbersome.
So here it is:
My Photo Backup Strategy:
- After taking photos, I export all of the photos from my memory card to a 1TB Thunderbolt Lacie Rugged Harddrive.
- I then clone the first harddrive to a second 4TB Lacie Rugged Harddrive using a program called Carbon Copy Cloner. This gives me two copies of all of my files in case one of the harddrives fails.
- I then backup all of my photos to the cloud through Crashplan. This is the third and final measure in case I lost both drives somehow and also lets me access my files online if I don’t have access to the other drives.
- Simple, that’s it. There actually isn’t officially a 4th step in my backup strategy, but the list seems so short and simple that I thought I had better add another line to make things seem longer and more official.
Everything you Need to Know About Crashplan:
Before I get excited and too carried away with things that I want to tell you, there is a really great resource about this stuff I want to share with you. It’s a podcast that is part of the This Week in Photo network which is called The Alpha Mirrorless Podcast. Specifically, in Episode 17 of the podcast, they cover backup solutions and cloud storage and have tons of insights.
After using Crashplan for nearly a year, I’ve figured out all of the little details about the software that I was either skeptical about before, or that I just didn’t think of.
Crashplan costs about $5.00 to $8.00 per month (depending on your currency) and there really are no other hidden fees. This is exactly what you pay and to me it’s totally worth it for the extra piece of mind. I always like to think of it by imagining how I would feel if I lost some or all of my photos. These are all of my memories and stories from trips and adventures around the world and I would be absolutely devastated if they disappeared.
I then imagine how much I would be willing to pay in this scenario if someone told me that they could give me all of the photos back with the click of a button. I can guarantee, it would be a lot more than the $60 per year that I pay for Crashplan.
It’s one of those funny things that is hard to justify paying for because it’s something that you never hope to have to use. Just like insurance when you’re travelling, in the best case scenario it will just be wasted money that you will never have to use. But, you end up buying it because it gives you peace of mind and comfort knowing that if something does end up happening, the damage will be minimized.
Is it really unlimited cloud storage?
Likely the first question that you might find yourself asking is about how much you could store through Crashplan. As it turns out, it is totally unlimited. Just in case you think I’m bluffing, I’ll say it again another way…
You can put as many files on Crashplan as you want, from every file on your computer, all of your photos, every external hard-drive that you own. Get your friends, your brother, your mom, your neighbour across the road, your uncle, and even that cousin that you don’t like very much to bring over their files as well.
So….what’s the catch then?
Well, the catch is that even though you technically can put as much as you want on the cloud, it takes a lot of time to do so. In the many months that I’ve been backing up to Crashplan while being in several countries, connected to many different wifi networks and using a couple of different hard-drives and computers, on average I get between 700kbps to 1mbps. Those are really important numbers, so I’m going to say it again really loud:
My upload speed to Crashplan usually ranges from 700 kbps (kilobytes per second) to 1.0 mbps (megabyte per second)!
Sometimes it’s faster or slower than this, but this a good estimate that I’ve found to be accurate. So, with some quick math you can see that you’re not going to upload all of your files overnight. In my case, when I first started using Crashplan, I had just over 1TB of photos that I wanted to upload and it took about 6 or 7 months to get this all backed up. I wasn’t in a panic or really urgent to get it all backed up so it wasn’t a big deal to me and I was happy to be patient. But, make sure that you give yourself a realistic expectation for how long it will take.
If, however, you have more than 1 or 2 TB’s, there is still hope! I’ve never tried it myself, but apparently Crashplan is able to send you a hard-drive that you can put copies of all of your files on. You can then send this back to them and they will upload it to your account. You can then continue backing up new files from that baseline. Again, I’m not totally sure how this works or what it costs but it’s a really good option and if you have that many files then it’s even more worth making sure that they’re protected.
Using the Crashplan App:
Crashplan also has a handy app that you can download on your phone or iPad. This lets you log in to your account and access your files from anywhere, even when you don’t have your computer or harddrives.
This might be incredibly handy when you need to find a certain picture or file to show a client or friend when you’re away from home.
In the video at the top, I show you the inside of the app. It’s really simple to use and is one more small reason to use Crashplan to backup your photos.
How to Setup and Configure Crashplan:
Crashplan is super easy to get up and running. You just sign up, download the program, select which files you want to backup, and you’re off.
I tweaked some of the settings to try to improve the upload speed slightly and I quickly show all of my settings in the video above.
Once you get everything setup and running, there’s really nothing else to do except let Crashplan do it’s thing. Because Crashplan doesn’t run when the computer is sleeping, however, there is one more thing that I like to do if I want to get a bulk upload completed. I go into my settings and stop the computer from sleeping when the display turns off. This lets the computer keep uploading all through the night and day when I’m not using it. Then, once I’m all caught up, I turn this off to let my computer resume its sleep cycles.
Why Choose Crashplan Over Others (Backblaze):
The other popular backup software is Backblaze. I’ve never tried Backblaze myself, but it is another awesome solution and I’m sure offers a very similar experience. I wouldn’t hesitate at all to go with them, but there are a few small reasons that I’ve gone with Crashplan.
The first is that Backblaze is more of a file archive than an official backup. This means that it will exactly replicate the files and file structures that you ask it to backup. There is no difference at all until a file gets deleted.
In the case of Backblaze, once a file gets deleted on your computed or hard-drive, you have 30 days until it is also deleted from your Backblaze archive.
With Crashplan, however, if a file gets deleted, it will always remain in your cloud backup. To me, this makes sense because it defends you against accidentally deleting a file and not realizing that it happened until after more than 30 days has gone by.
Crashplan also gives you a really cool free option:
There is another cool feature of Crashplan that lets you use it completely free. With this, you can set up a system with a friend or family member of yours to create your own backup system.
The idea of cloud storage is that you get a copy of your files away from your home or place of work where they might be stolen or destroyed in something like a fire.
So, if you’re want this benefit but don’t really want to pay the monthly fees, you can trade hard-drives with a friend of yours. He would then plug your hard-drive into his computer and you do the same with his. When the computers are connected to the internet, you would then backup your files to the harddrive at his house, and vice versa. The files are also encrypted so you don’t have access to each others files.
This might also be good for someone who is wary about the security of having their files on the mysterious cloud.
Restoring Your Files in the Case of a Hard-Drive Failure:
So, the worst case scenario is that you lose the hard-drive (or hard-drives) where your photos are stored. At some point, all hard-drives fail and if you’re like me, the chances of misplacing or losing one is more likely than we’d like to think.
If this happens, and you’re using Crashplan, then it’s not the end of the world. You simply go into the app, click on the Restore tab, select the files that you want to bring back to life and click “Restore.” You would have to have somewhere to bring these files back to, which may mean buying a new hard-drive, but your files will be safely waiting for you once you’re ready to give them their new home.
Luckily, I haven’t had to do this myself, but from my experimentations and reading, the restoration process with Crashplan is a simple and easy as it comes and makes things very easy when things have gone bad.
Conclusion:
Even if you don’t want to back your photos up to the cloud, it’s really important to have some sort of back-up solution. For me (and for a lot of people), storing your photos on the cloud makes a lot of sense and companies like Crashplan (or even Backblaze) make this process incredibly easy.
All of the doubts that I had before about the cost and limitations of cloud back-up were immediately thrown out the window when I started using Crashplan. For around $60 per year you can get completely unlimited storage and backup all of your files from your computer or external hard-drives. The only limitation that you might encounter is the upload speed which usually ranges between 700 kbps to 1 mbps, which can make uploading large volumes of files a bit cumbersome.
Crashplan also gives you the ability to set-up a back-up solution between you and your friends so that you each store copies of each other’s photos to give you each an offsite backup location. If you want to do this, it’s actually completely free to use.
Crashplan also has an app that you can download for your phone or tablet which lets you access all of your uploaded files while you don’t have your computer or external hard-drives available.
I have a really hard time not saying awesome things about Crashplan and if you want to have a completely bombproof way to backup your photos and files so that you’re covered in case your hard-drives ever get stolen or destroyed, the Crashplan is absolutely the way to go.
 What is this site about?

This site is my place to share everything that I know about photography and travel. I'm not an expert, I'm just a guy who loves this stuff and I want to share everything that I learn, as I learn it, with complete honesty and transparency. So, whether you're looking to improve your photography or you want to learn more about travelling to a new place, I want to help you on your journey. Check out my about page to find out more and get in contact with me. I'd love to hear from you!